Blog
Urine specimen collection guide: compliance & best practices

TL;DR:
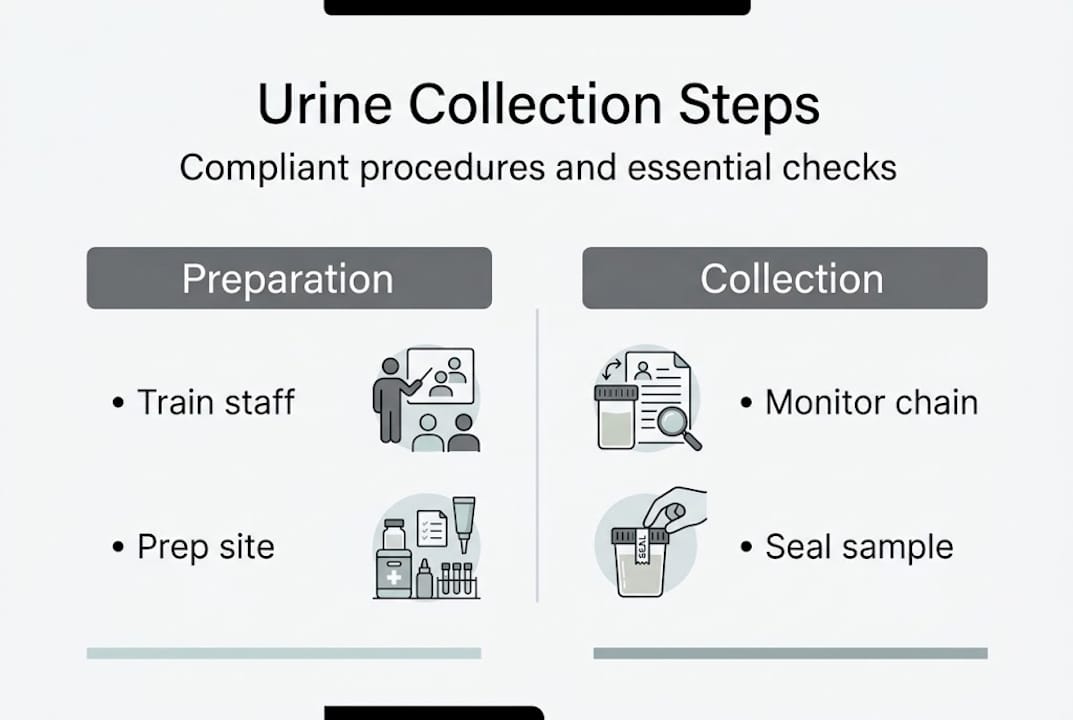
- Proper staff training and site setup are essential for compliant and reliable urine drug testing.
- Verification of specimen integrity through temperature, creatinine, and other validity checks is crucial.
- Building trust and clear communication with donors enhances compliance and reduces procedural errors.
A single procedural misstep during urine specimen collection can void a test result, trigger a regulatory audit, or expose your facility to serious legal liability. Improper collection can compromise testing integrity and lead to regulatory penalties that no clinic or laboratory wants to face. Whether you run a federally mandated workplace program, a treatment center, or a clinical lab, the quality of your collection process is the foundation of every result you report. This guide walks you through requirements, step-by-step procedures, validity checks, and documentation practices so your program stays compliant and defensible.
Key Takeaways
| Point | Details |
|---|---|
| Proper training required | Collectors must follow official guidelines and receive compliance training before handling specimens. |
| Chain of custody is critical | Meticulous documentation and labeling ensure test integrity and regulatory compliance. |
| Validity checks prevent errors | Temperature, specific gravity, and creatinine tests detect dilution, tampering, or unsuitable samples. |
| Direct observation not always needed | Observation is only triggered for specific protocol events to balance privacy and integrity. |
| Select appropriate test panels | Match drug panels to your testing goals, covering relevant substances and adulterants. |
Requirements and preparation for urine specimen collection
With the stakes clear, let’s walk through the essential requirements for compliant urine specimen collection. Getting this phase right prevents the majority of downstream problems.
Staff training and certification
Collectors must be trained per 49 CFR Part 40 and follow chain of custody procedures without exception. Training covers proper identification of donors, handling of tamper-evident supplies, documentation of the Federal Drug Testing Custody and Control Form (CCF), and recognition of specimen integrity issues. Untrained collectors are one of the most common sources of fatal flaws in drug testing programs.
For a broader overview of how training fits into the full process, review the urine drug testing steps your program should follow. The SAMHSA collection handbook also provides federally aligned guidance for workplace programs.
Physical setup requirements
Your collection site must be arranged to prevent adulteration and ensure privacy. Water sources in the collection area should be secured or blued with dye. No personal items that could contain adulterants should be accessible. The restroom must be private but monitored from outside.
Supplies checklist
Before any donor arrives, confirm you have the following on hand:
- Tamper-evident urine specimen cups with integrated temperature strips
- Federal CCF forms (five-part)
- Bluing agent for toilet water
- Leak-proof specimen transport bags
- Permanent marker for labeling
- Gloves and biohazard disposal materials
| Supply item | Purpose | Compliance requirement |
|---|---|---|
| Tamper-evident cup | Prevents post-collection adulteration | Required under 49 CFR Part 40 |
| Temperature strip | Validates specimen freshness | 90-100°F range required |
| CCF form | Chain of custody documentation | Mandatory for federal programs |
| Bluing agent | Deters water dilution in toilet | Required at collection site |
| Transport bag | Specimen integrity during shipping | Required for lab submission |
Pro Tip: Post a laminated visual SOP at the collection station. Collectors under pressure skip steps. A visible checklist reduces errors by giving staff a quick reference without breaking workflow.
Step-by-step urine specimen collection procedure
Now that the right preparations are in place, here’s exactly how to carry out the collection process.
- Verify donor identity. Check government-issued photo ID. Record the donor’s name and ID number on the CCF before anything else.
- Prepare the collection area. Secure water sources, apply bluing agent, remove any items that could be used for adulteration, and set out all supplies.
- Brief the donor. Explain the process clearly: empty pockets, wash hands without soap at the sink outside the restroom, then provide the specimen. Avoid overly clinical or intimidating language.
- Issue the collection cup. Hand the donor a sealed, tamper-evident urine specimen cup and instruct them to provide at least 30 mL.
- Monitor outside the restroom. You should not observe the collection directly unless specific protocol triggers apply (see below). Listen for unusual sounds.
- Receive the specimen. Accept the sealed cup from the donor immediately. Do not allow the donor to handle it further.
- Check the temperature. Read the temperature strip within four minutes of collection. The acceptable range is 90-100°F. If out of range, document it on the CCF and consider a direct observation recollection.
- Inspect for visible issues. Look for unusual color, odor, or particulates that could indicate adulteration.
- Complete the CCF. Collectors must complete the CCF and document any shy bladder events, temperature anomalies, or refusals.
- Seal, label, and transfer. Apply tamper-evident tape over the specimen bottle cap, have the donor initial the seal, and complete the chain of custody transfer section.
Critical note: Direct observation is not the default. Direct observation may be required under certain suspicion or protocol triggers, such as a previous invalid result, a temperature out of range, or a return-to-duty test. Observation balances privacy rights with program integrity. Document every trigger carefully.
Handling shy bladder
If a donor cannot produce a specimen, allow them up to three hours to try. Offer water in reasonable amounts. If they still cannot provide a sample, the event must be documented and referred to a medical review officer (MRO) for evaluation.
| Situation | Standard collection | Direct observation |
|---|---|---|
| Routine pre-employment | Yes | No |
| Return-to-duty | Yes | Yes |
| Previous invalid/substituted result | Yes | Yes |
| Temperature out of range | Yes | Yes (recollection) |
For a full breakdown of the step-by-step procedure including documentation forms, refer to our detailed procedural guide.
Specimen validity and integrity: Checks, common issues, and troubleshooting
After collecting a sample, thorough verification safeguards test validity. A specimen that looks fine visually can still be invalid.
Key validity parameters
Validity testing using creatinine, specific gravity, and pH identifies dilution or adulteration with high reliability. These checks happen at the lab, but point-of-collection screening can flag obvious problems before the sample ships.
| Validity parameter | Normal range | Concern threshold |
|---|---|---|
| Temperature | 90-100°F | Outside range at collection |
| Specific gravity | 1.002-1.030 | Below 1.001 or above 1.030 |
| Creatinine | 20-300 mg/dL | Below 20 mg/dL (dilute) |
| pH | 4.5-8.5 | Outside range (adulterated) |
Common specimen issues and how to handle them
- Low volume (under 30 mL): Document on the CCF and initiate a second collection. If the donor cannot provide sufficient volume, follow the shy bladder protocol.
- Temperature out of range: This is a serious red flag. Document immediately, note the actual temperature on the CCF, and if protocol requires, initiate a direct observation recollection.
- Visible adulteration: Unusual color (blue, green, or orange), foam, or strong chemical odor should be documented. Do not discard the specimen. Send it to the lab with a notation.
- Suspected substitution: If creatinine is below 2 mg/dL and specific gravity is below 1.001 or above 1.020, the specimen may be substituted. The MRO will make the final determination.
For more detail on how these checks fit into a broader screening strategy, see our multi-panel drug testing guide. Additional urine collection details from the NIH provide clinical context for each parameter.
Pro Tip: Use an on-site adulterant test strip before sending the specimen to the lab. Catching an adulterated sample at the collection point saves time, reduces lab costs, and gives you documentation that the issue was identified immediately.
Compliance, documentation, and testing panels explained
Verifying the sample is only half the equation. Compliance and robust documentation are equally vital to a defensible program.
Custody and Control Form (CCF) best practices
The CCF is your legal record. Every field must be completed in full. Incomplete forms are one of the top reasons results are rejected or challenged. The form tracks the specimen from collection through lab analysis and MRO review. Never use correction fluid on a CCF. Draw a single line through errors, initial, and note the correction.
Refrigeration and shipping requirements
Specimens must be labeled, refrigerated if not immediately shipped, and standard drug panels must be identified on the CCF before transport. Refrigerate at 2-8°C if shipping is delayed. Never freeze a urine specimen unless the lab specifically instructs you to.
Standard drug testing panels
Federal workplace programs follow SAMHSA’s five-panel standard, which covers:
- Amphetamines (including methamphetamine)
- Cocaine metabolites
- Marijuana metabolites (THC)
- Opiates (including heroin markers)
- Phencyclidine (PCP)
Many non-federal programs expand to 10, 12, or 14 panels, adding substances like benzodiazepines, barbiturates, methadone, oxycodone, and buprenorphine.
Detection windows: A key statistic
Detection windows vary significantly by substance. THC can be detected for up to 30 days in chronic users, while cocaine metabolites typically clear within 2-4 days. Opiates generally show a 2-3 day window. These windows matter when interpreting results and advising program stakeholders.
Audit-ready documentation practices
Store CCF copies in a secure, access-controlled location for a minimum of two years for federal programs. Maintain a log of all collections, including any incidents, refusals, or procedural deviations. For a complete look at how documentation fits into your overall drug testing program workflow, review our workflow and compliance guide.
Expert perspective: What most collection guides miss about building trust and compliance
Most collection guides treat urine specimen collection as a purely procedural exercise. Follow the steps, check the boxes, ship the sample. But in our experience working with clinics, treatment centers, and workplace programs, the programs with the lowest error rates and the fewest contested results share one trait: their collectors communicate well with donors.
Rigid, surveillance-heavy collection environments create adversarial dynamics. Donors who feel suspected before they’ve done anything wrong are more likely to attempt adulteration, more likely to claim procedural violations, and more likely to disengage from treatment or compliance programs entirely.
Specimen validity testing over full direct observation is supported by clinical consensus precisely because it balances integrity with dignity. Data-driven validation, not surveillance, is the standard.
The collectors who build trust explain why each step exists. They treat the process as professional, not punitive. That shift in tone, combined with reliable urine testing protocols and the right supplies, produces better compliance outcomes than any checklist alone.
Streamline compliant urine specimen collection with trusted supplies
Ready to implement best practices and ensure total compliance? The right supplies make every step of this process faster, more defensible, and easier to audit. Buy Test Cup stocks a full range of urine specimen cups with integrated temperature strips, tamper-evident seals, and CLIA-waived options designed for federal and non-federal programs. Browse our complete selection of drug test cups for multi-panel screening needs, and download our drug testing supplies checklist to make sure your facility is stocked and ready before the next collection cycle. Bulk orders ship free.
Frequently asked questions
What is the required urine volume for drug testing?
A minimum of 30 mL of urine is required for standard drug testing. Insufficient volume triggers a recollection or, in some cases, a directly observed collection.
How quickly should a urine specimen be shipped to the lab?
Specimens should be shipped as soon as possible after collection. Specimens must be refrigerated at 2-8°C if immediate transport is not available to preserve validity.
What is a ‘shy bladder’ and how is it handled?
A shy bladder occurs when a donor cannot urinate at the time of collection. Shy bladder protocol allows up to three hours to provide a sample, after which the event is referred to an MRO.
What are the normal temperature and validity parameters for urine samples?
Normal urine temperature at collection is 90-100°F. Temperature, specific gravity, and creatinine are the primary validity markers, with specific gravity expected between 1.002 and 1.030 and creatinine above 20 mg/dL.
What substances are covered in standard urine drug test panels?
Federal standard panels cover amphetamines, cocaine, opiates, PCP, and THC. Non-federal programs often expand panels to include benzodiazepines, oxycodone, methadone, and other substances depending on program needs.